


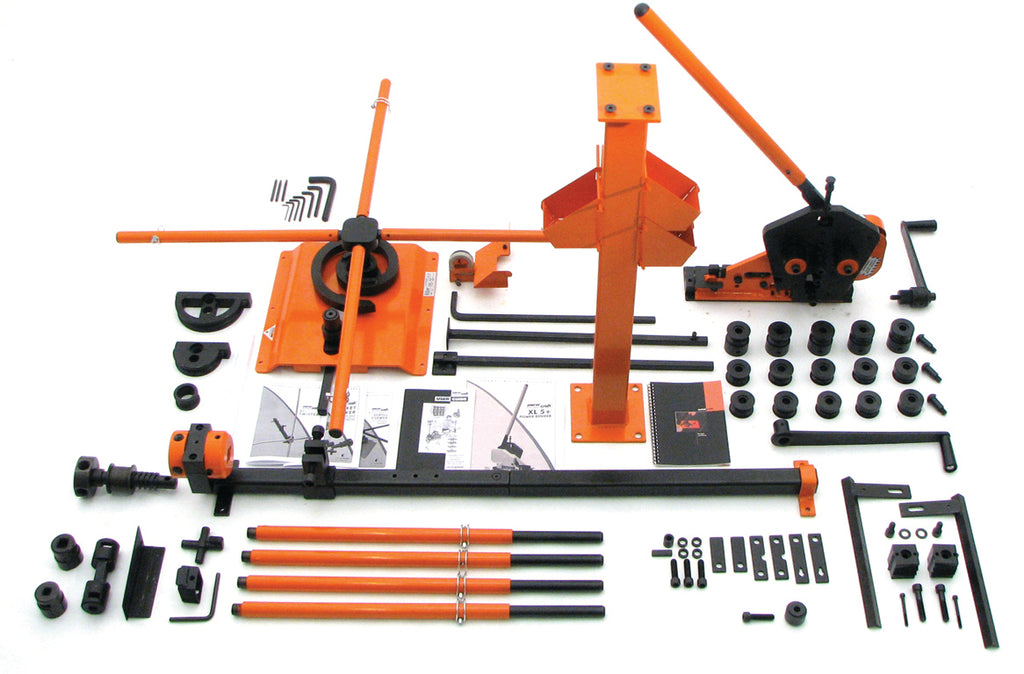
EVERYTHING YOU NEED
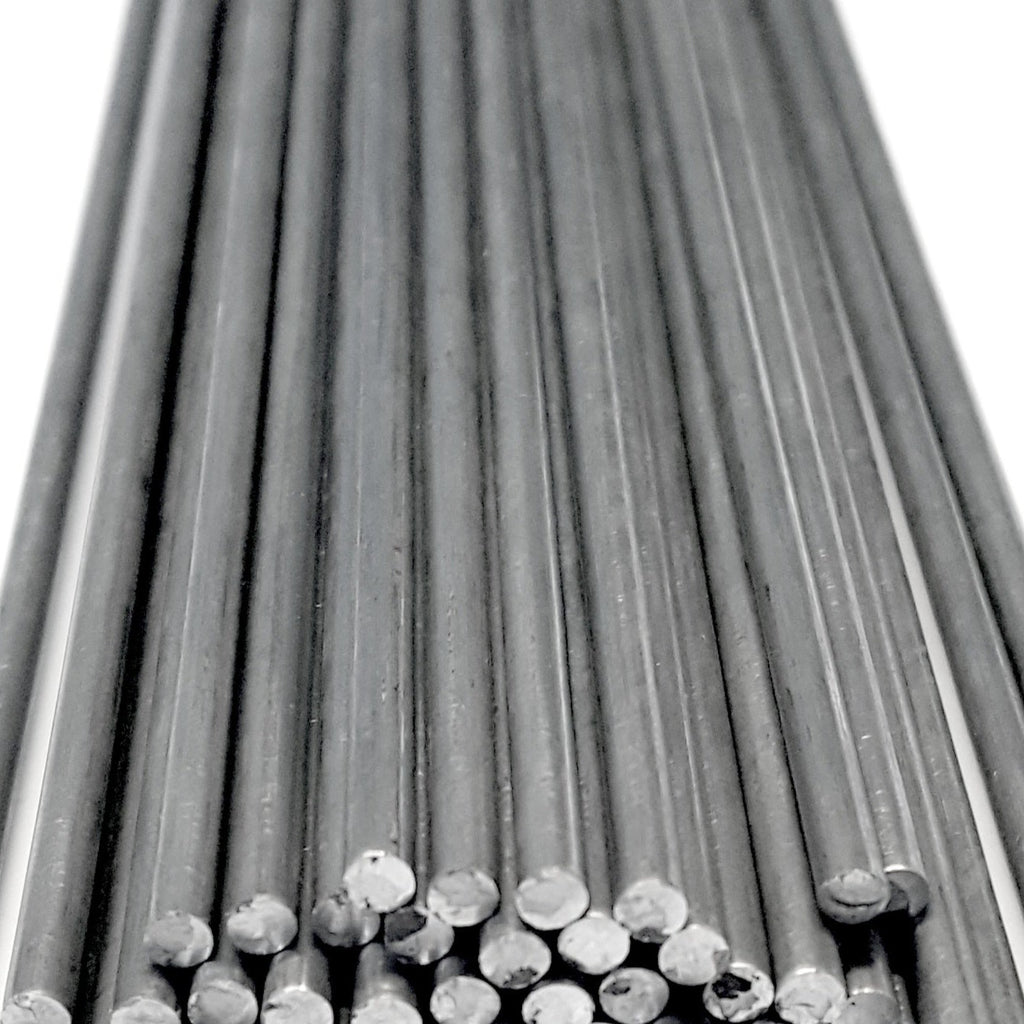
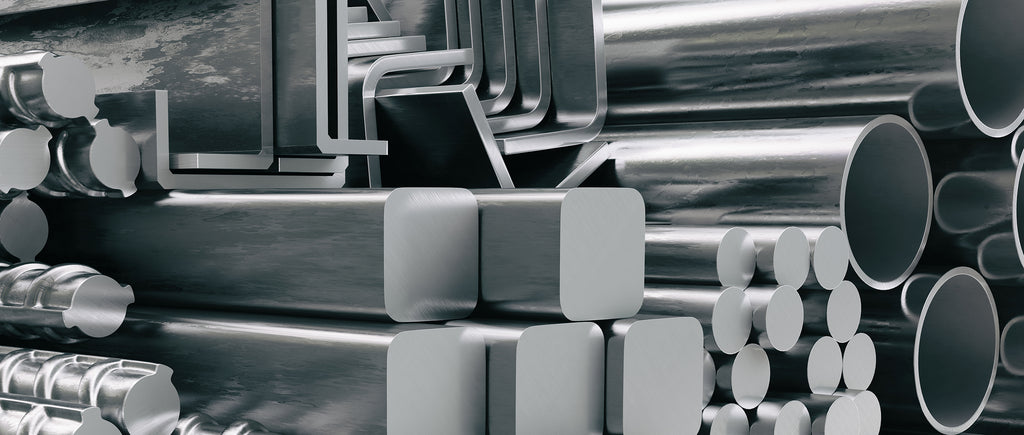
Save money & stretch your budget (not just our metal)
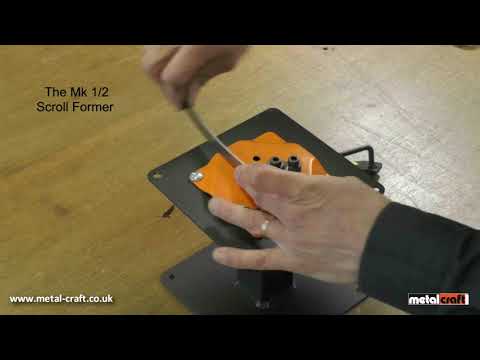
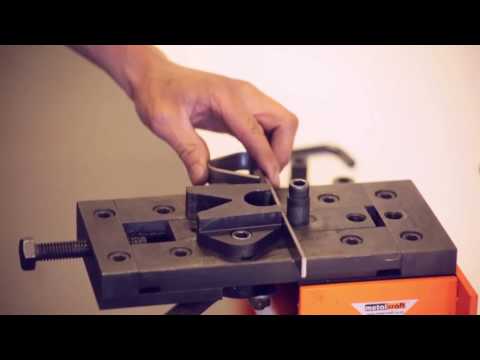
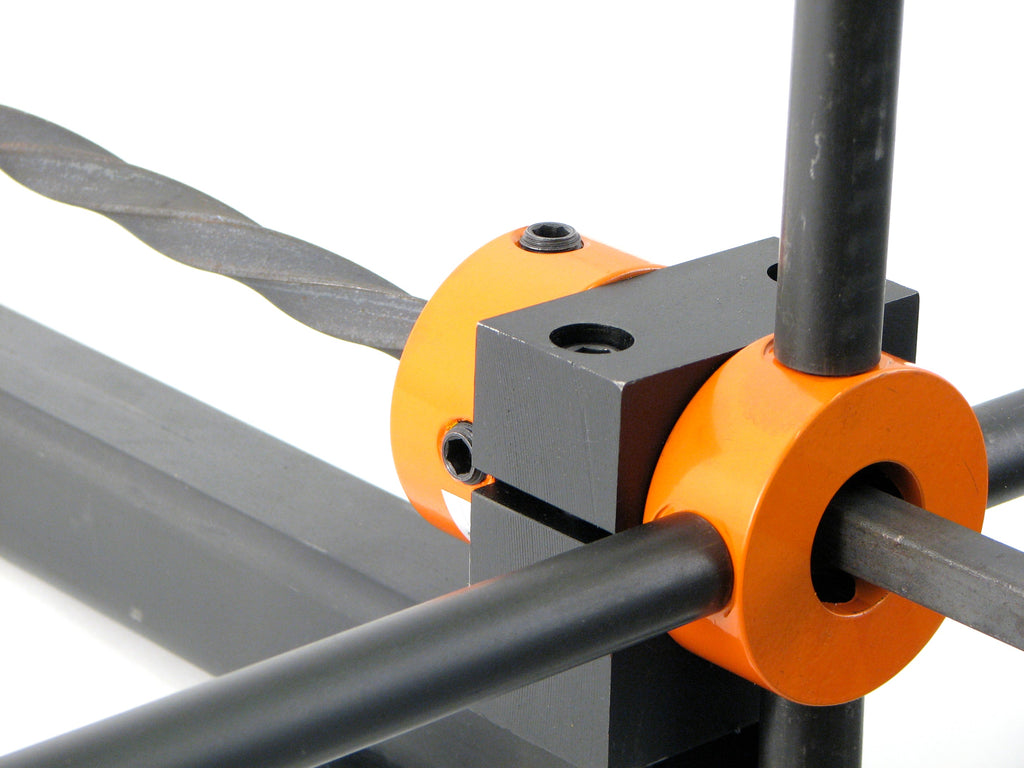
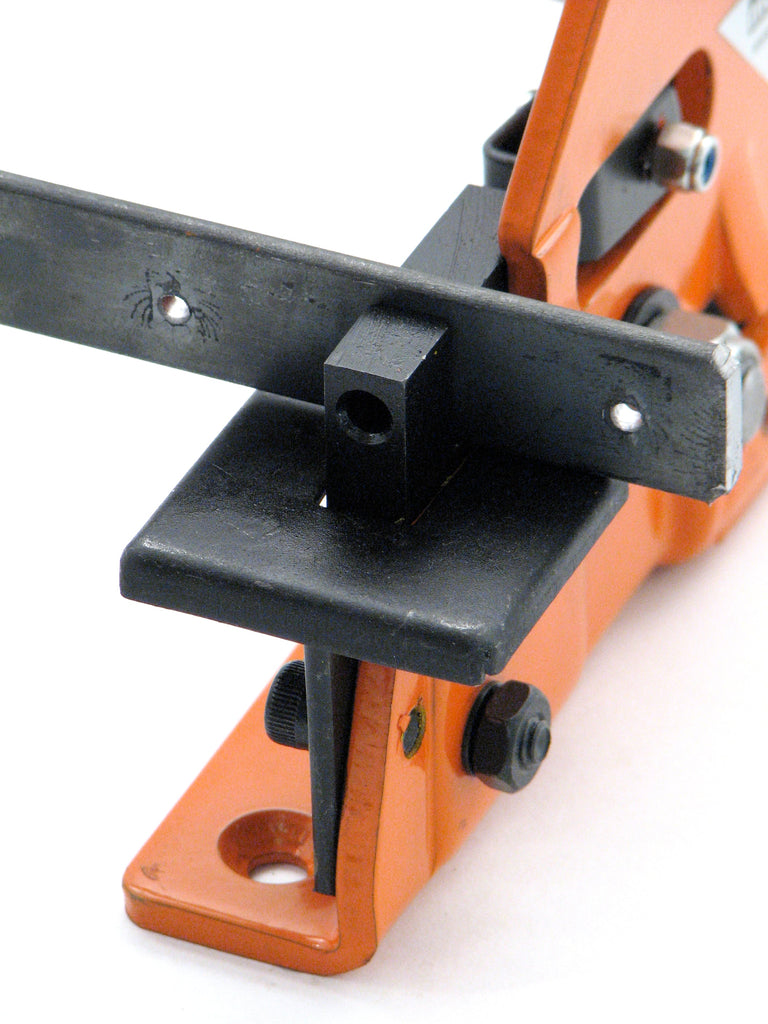
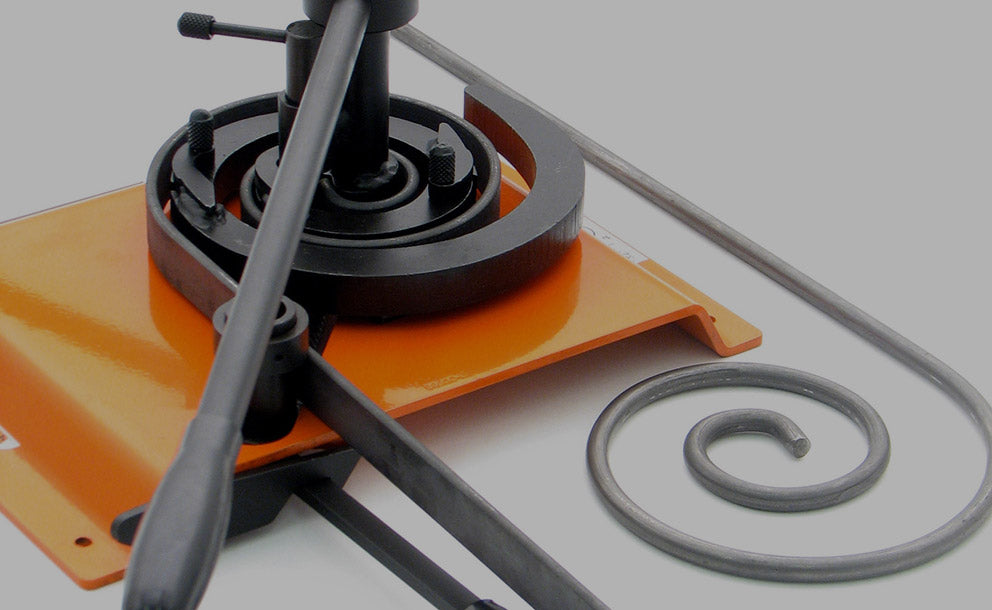
You don't need to be a welder, blacksmith or metalworker to use our tools and even beginners can be making metal projects in minutes.
These unique hand powered metalworking tools can be used from children to the industrial user. Requiring no heat or power, anyone can pick up our tools and be making simple crafts straightaway.


Metalworking machine & tool specialists
Introducing Warco
Machinery and tools direct to customers globally for nearly 50 years. Offering machines for industry, engineers, professionals, schools,
colleges, hobbyists and model engineers.


Metalcraft UK is the market-leading online metal craft tools retailer
- tried & trusted by UK & international customers since 1950.
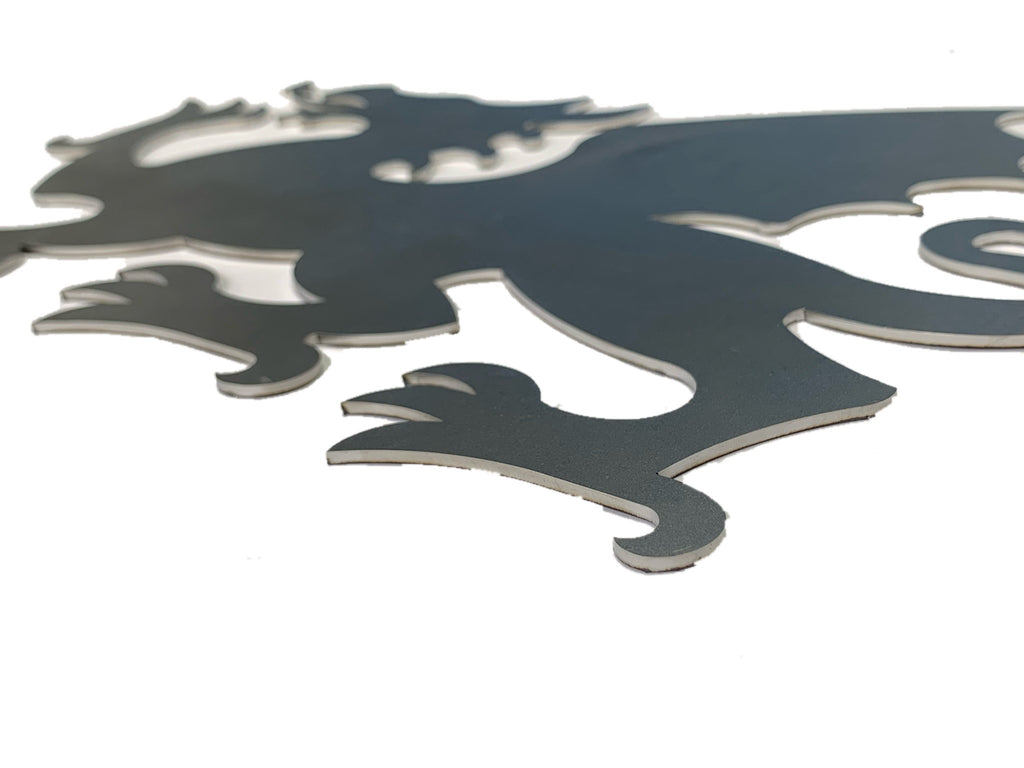
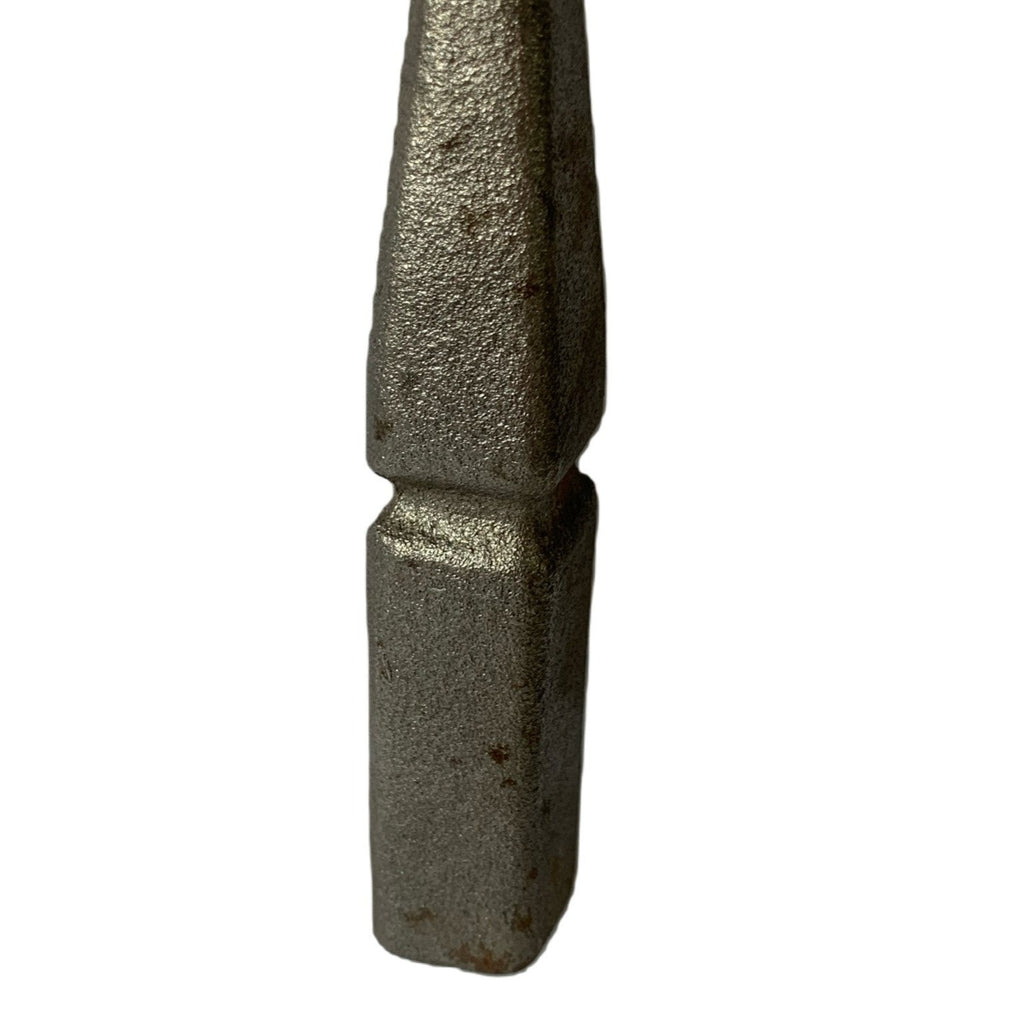
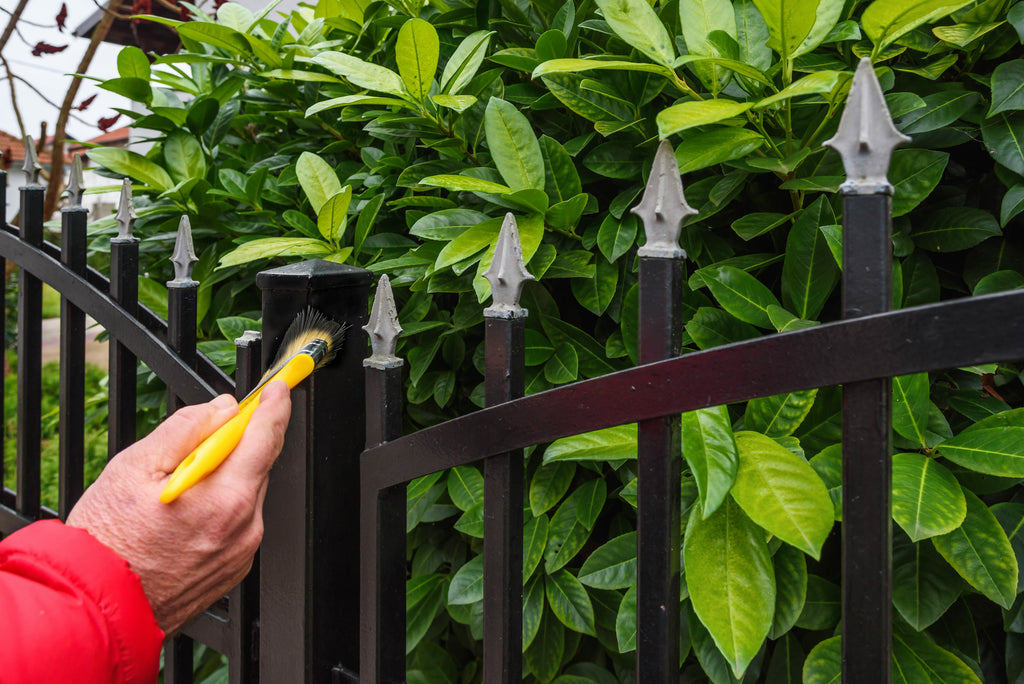
Great for beginners and experienced hobbyists, our metal working tools are the number one choice for ornamental metalwork craftsmen.
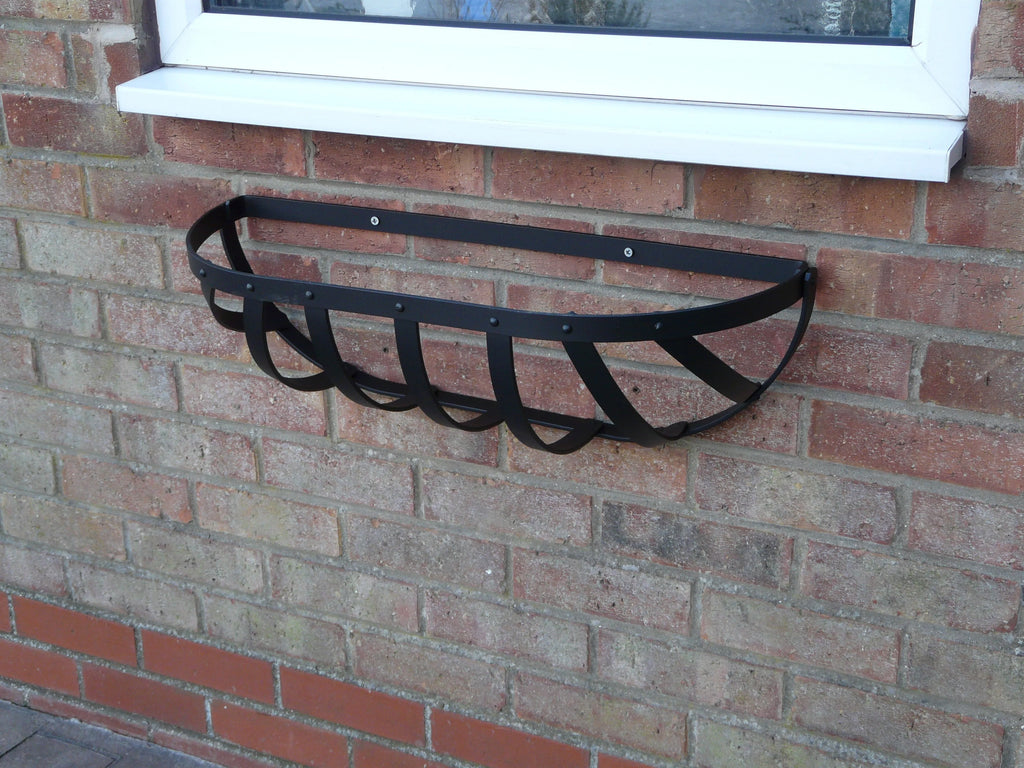
Perfect for wrought iron sculpting and bending, metal crafting or making decorative items; browse & buy our exclusive metalcraft tools online now!
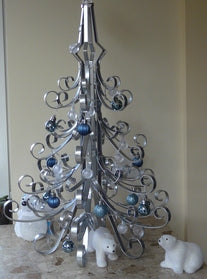
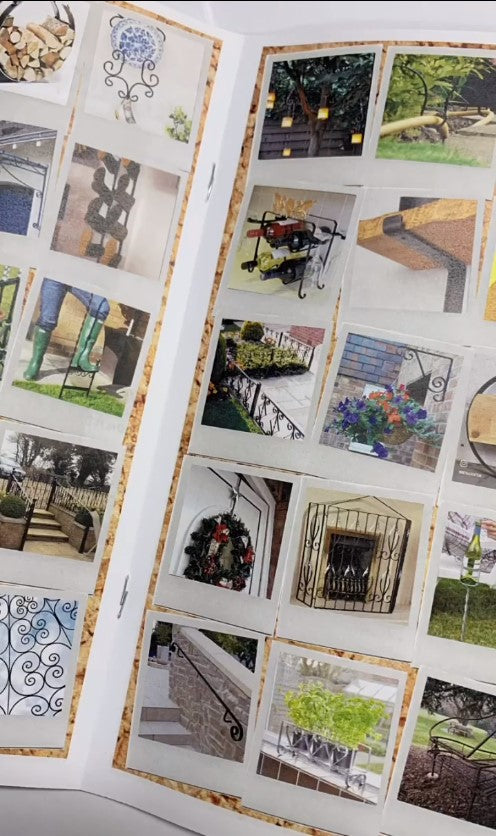
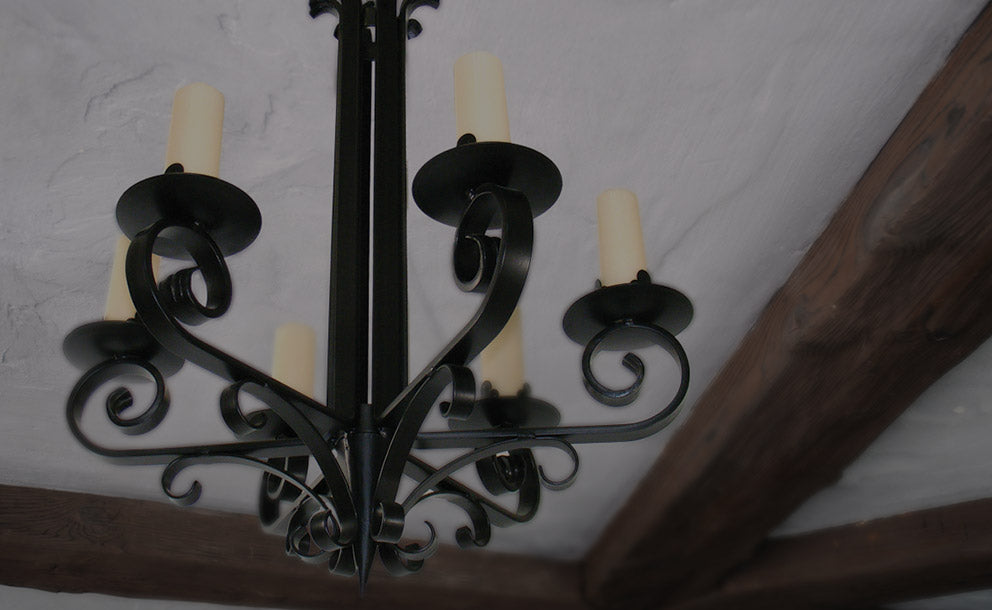
Be inspired, discover What To Make and design your dream project – house signs, gates, porches,
grilles, benches, log baskets & more!


